- Why Is Accessibility Important?
- Different Disabilities; Universal Solutions
- Building an ADA-Compliant Kitchen Sink
- ADA Compliance for Counters, Cabinets, and Open Spaces
- Appliances and Workspaces
- Getting the Most Out of Your Kitchen Sink
- Making Your ADA Designs Work for Everyone in the Home
- Frequently Asked Questions
- Putting It All Together
It’s not just that the Americans with Disabilities Act (ADA) has strict laws for how to build kitchens for people with disabilities.
As the builder, you also want your kitchen to be welcoming to all clients and residents.
Homeowners may have elderly family members living with them who have special needs.
Homeowners themselves may age and start developing mobility limitations. An accessible kitchen helps you attract a wider range of clients, and retain them longer.
Chapter 1. Why Is Accessibility Important?
Jumping through all the legal hoops to create ADA-compliant kitchens might feel like a burden. But for people with disabilities, accessible homes make all the difference in their quality of life.
Imagine a person who uses a wheelchair cooking dinner on a standard range. Reaching over hot elements to access controls at the back of a stovetop can lead to burns for any user. But trying to do it from a seated position can spell disaster–if it’s possible at all.
What about elderly family members? If the kitchen faucet is too hard to turn on and off, grandma can’t even get herself a glass of water without help.
Here are 5 great reasons to master accessible kitchen design. 5 Reasons to Master Accessible Kitchen Design.
1.1 Accessible Kitchens Mean Independence
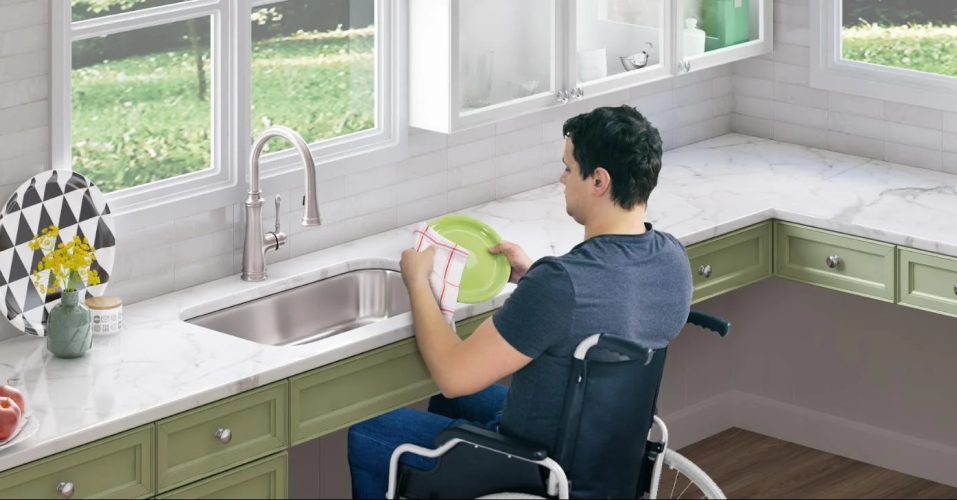
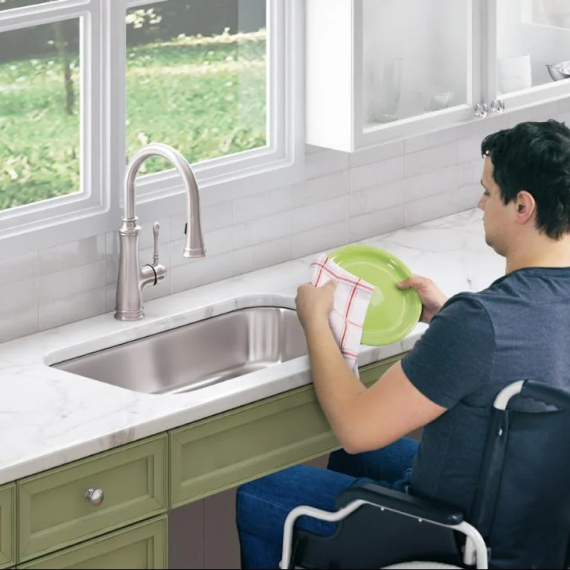
Accessible kitchens help residents live independently and with confidence.
A person with limited range of motion in their arms can reach all the shelves without discomfort. Visually impaired homeowners can easily find their ADA kitchen sink in a beautiful high-contrast finish. Elderly family members can plug in the coffee maker without their arthritis getting in the way.
For people with disabilities, a kitchen designed with their needs in mind means they don’t have to rely on others for everyday tasks.
1.2 Inclusive Kitchen Designs Improve Your Reputation as a Professional
In today’s age of convenience and consideration, accessible design could make all the difference for your brand.
Even standard homes can incorporate many of these simple considerations to improve safety for everyone in the household.
Lever handles on ADA kitchen faucets are also easier to turn on and off with a wrist or elbow if your hands are full while cooking. Multi-height workspaces mean the whole family can enjoy cooking together, including the kids or adults that need to sit for a minute. Great lighting design means better visibility for all residents, and not just the visually-impaired.
In fact, some ADA guidelines aren’t about disabilities at all–they’re aimed at making spaces more usable by everyone.
The more tools you have in your universal design toolbox, the more functional your homes will be. And the better your reputation as a builder.
1.3 An Accessible Kitchen Lets Residents Age in Place


A universal kitchen means aging residents can stay in the home they love as they grow older.
Your homeowner or resident might not need special considerations when they first move in, but their needs will change as they age. Incorporating accessible design means you can retain residents longer, perhaps for life.
1.4 Mastering ADA Kitchen Design Keeps You Compliant with the Law
Like it or not, ADA compliance is the law. You probably already know how many units in your multi-unit build need to be ADA-compliant.
The last thing you need on any project are the delays and extra cost that come with fixing problems. Knowing ADA-compliant kitchen design forward and backward means you can get it right the first time. That’s good for business, and will help you avoid thousands of dollars in fees.
Be sure to consult your legal advisor or Certified Access Specialist to ensure you’re fully compliant. You can read the standards on the ADA website for full details.
1.5 Accessible Kitchens Can Boost Market Value and Appeal


Let’s be real: ADA compliant homes may have worse resale value, than standard homes. Most home buyers won’t want lower countertops or ADA kitchen sinks. (source)
But universal design–better accessibility for a wide range of users–increases market value.
Mastering ADA compliance means all your designs can become more adaptable. You’ll start seeing opportunities to incorporate some considerations where you can, which boosts a home’s appeal.
And that’s always good for business. So now you see why accessibility matters for your resident and your business. But not every disability is the same.
Next, we’ll break down some broad categories of the different kinds of disabilities and how they factor into your design.
Chapter 2. Different Disabilities; Universal Solutions
The vast majority of ADA requirements for home design focus on people who use mobility aids. But that’s not the only kind of disability out there.
Let’s look at how ADA compliant kitchen design guidelines help a wide range of disabilities.
2.1 Mobility Limitations


“Limited mobility” doesn’t only mean wheelchair users.
While the majority of ADA guidelines have wheelchair users in mind, they can help in a wide range of living situations.
That means ensuring people who use a walker or crutches have room to maneuver. That way elderly or injured residents can wash dishes or prepare food without needing to stay standing, or feeling their crutches are always in the way.
Remember that mobility problems can be a temporary disability like a broken leg or hip replacement. They may also develop slowly as we age. Many families have a mixture of different mobility assistance needs.
There are a wide range of mobility aids out there, and the ADA recommendations will help you address most of them.
2.2 Dexterity and Hand Strength
A disabled person may also have trouble reaching, bending, or using their hands.
Dexterity problems can happen because of an injury, neurological issue, disease or age.
For example, Parkinson’s disease, arthritis, cerebral palsy, autism, and even a broken arm can make it hard to use some appliances and fixtures.
ADA compliant kitchens and universal design concepts ensure that people with these kinds of limitations can use a kitchen comfortably. For example, easy-glide drawers, open shelving, and rocker light switches are all easy ways to make all your homes more inviting for people with a variety of accessibility needs.
2.3 Vision Impairments


Visual impairment isn’t all-or-nothing.
In many cases it can mean your resident has very dim, blurry, or otherwise limited vision. They’ll benefit from streamlined homes that are easy to keep organized.
Visually impaired people may bump into stuff as they work in the kitchen. That’s why the ADA has regulations for protruding objects. For example, countertops that stick out at odd angles can become major hazards.
Effective storage solutions let them keep supplies sorted so they can rely on their sense of touch to find what they need.
Head to section 4.1 and section 6.5 for more details on how you can incorporate design features to make your kitchen more accessible for people with vision impairments.
2.4 Hearing Loss and Deafness


Another major category of disability is deafness.
As you build homes with accessibility in mind, look for any appliances that use auditory alarms or signals.
People with hearing disabilities need visual cues for these alerts. Smoke and carbon monoxide detectors are especially important, because missing the alarm could be a life or death situation.
Taking the different types of disabilities into account can make it easier to incorporate accessible features into every design.
Next, let’s look at what that means in each area of the kitchen.
Chapter 3. Building an ADA-Compliant Kitchen Sink
ADA kitchen sinks have more specific guidelines than almost any other part of a kitchen. Let’s break down these requirements one by one.
As mentioned above, we recommend consulting a legal advisor or Certified Access Specialist to ensure you’re fully compliant. You can read the standards on the ADA website for full details.
3.1 ADA-Compliant Kitchen Sink Basins
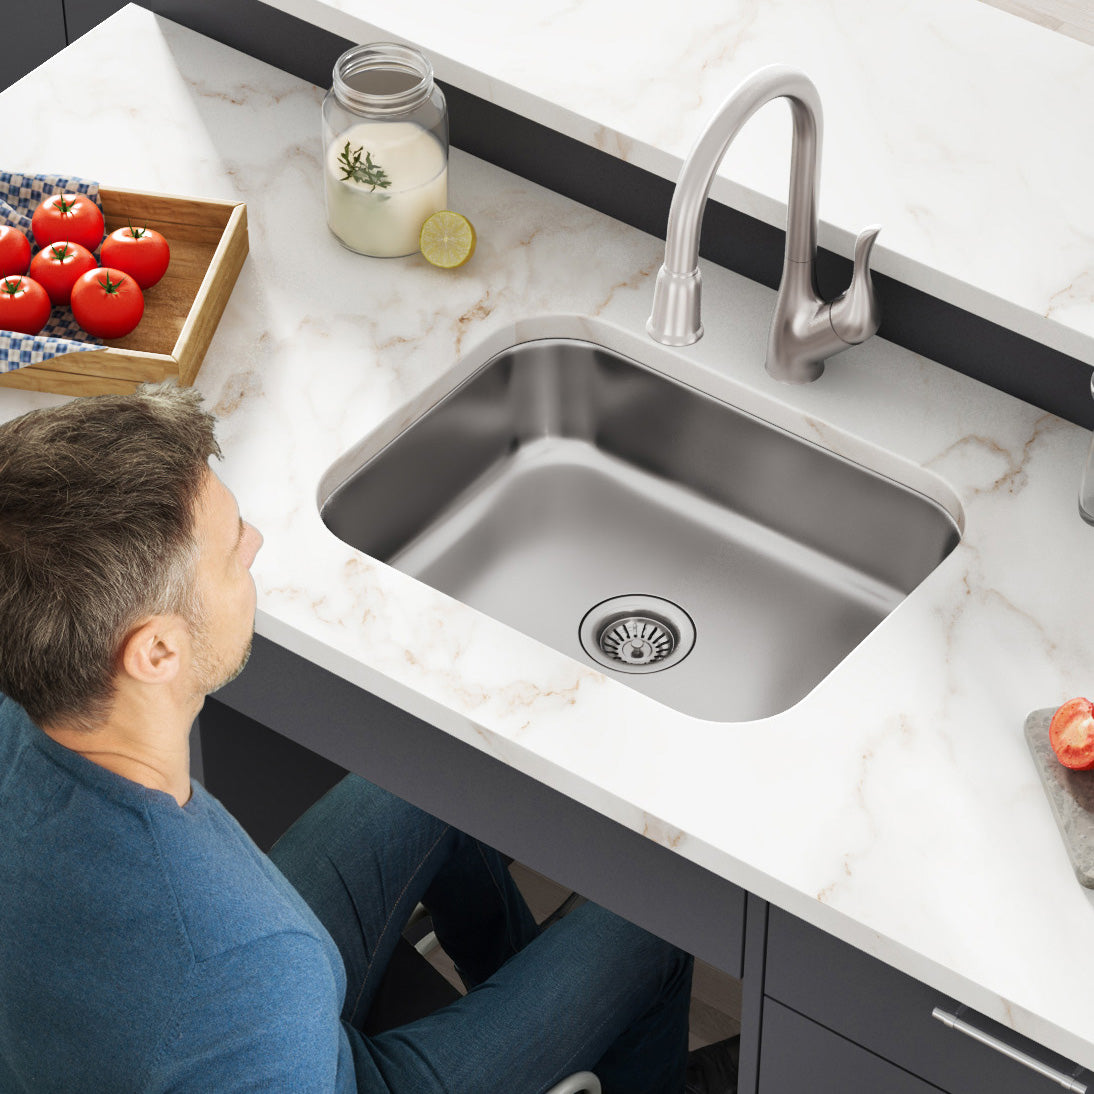
The most important part of ADA kitchen compliance is that the sink must be accessible from a seated position.
There are very specific requirements to make sure your basin complies with ADA guidelines. Here’s how it should look.
3.1.1 ADA Sink Height
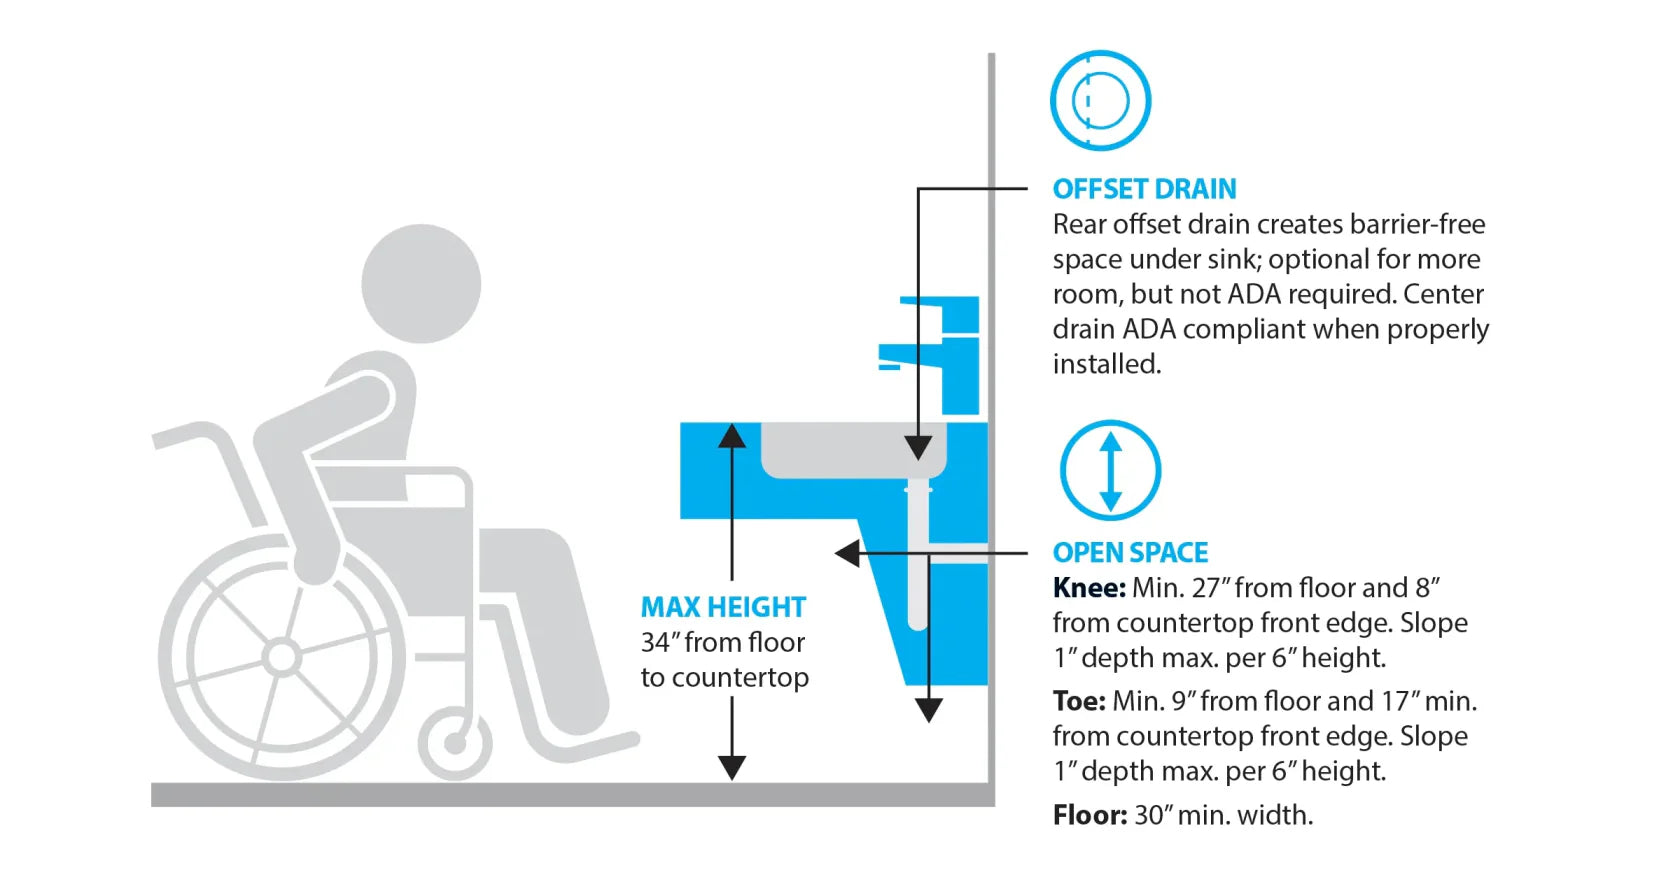

countertop or rim of the sink (whichever is higher) must be no more than 34” off the floor. This is lower than the usual and makes it possible to use the sink while seated.
3.1.2 Under-Sink Clearance
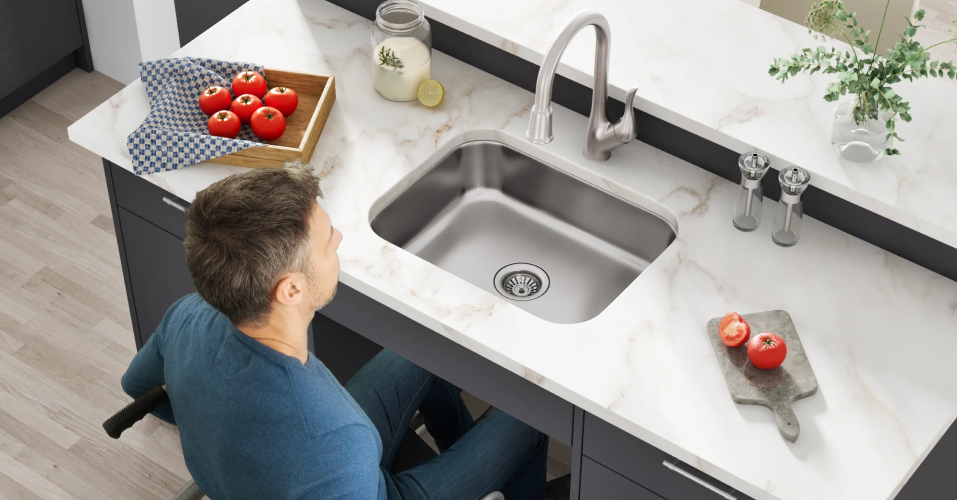

You also need enough clearance for knees and toes below your sink. That means the usual cabinetry under a sink won’t work.
Your ADA kitchen sink should have a minimum of 27” of open space from the floor to the underside of the sink. That space needs to be 8” long from the countertop’s edge before running into any pipes or walls.
Toes stick out even more, so you’ll need a minimum of 9” of clear space from the floor that runs at least 17” from the edge of the counter before hitting any obstacles.
All of this space needs to be at least 30” wide.
Areas under the sink or counter - where you’ve included knee and toe clearance - need to be safe.
That means Insulating pipes to prevent burns, and covering up anything sharp or abrasive that could cut or scrape their legs.
Remember that some wheelchair users may not have full feeling in their lower limbs. So small cuts may go unnoticed and cause serious infections.
3.1.4 Basin Depth and Configuration
Since the sink must be 34” off the floor, and have 27” inches of open space underneath, a standard basin won’t work.
Most kitchen sink basins are 10” deep. But your ADA kitchen sink can only be 5.5” deep if it’s an undermount design or 7” deep maximum for top mount options.
The drain also poses a problem. If you install a standard drain that runs straight down, it won’t leave enough knee clearance. So you’ll need an offset drain with a pipe that runs toward the back or side to leave the space under your ADA sink open.
These requirements are why you need a manufacturer or distributor that makes specialized ADA compliant kitchen sinks. So you can rest easy and know your kitchen sink fits all the standards and leaves nothing to chance!
3.2 ADA-Compliant Kitchen Faucets


Once you have your basin ready to go, you’ll need a faucet to match.
Here’s what to look for in an ADA kitchen faucet:
- Easy to turn on and off with one hand.
- Control doesn’t require gripping, pinching, or twisting the wrist.
- Can be turned on and off using less than 5 lb of force.
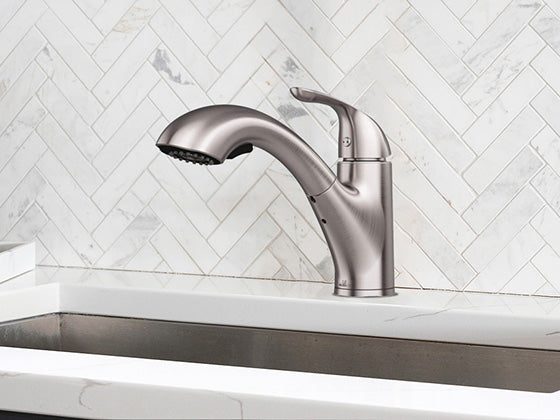
Good designs for an ADA faucet have a single, lever-style handle.
3.2.1 Added Features That Enhance Accessibility
These aren’t strictly necessary for your sink to be ADA-compliant, but they’re great to have if you have the budget.
- Touchless or touch-activated controls.
- Pull-out or pull-down sprayers.
- Pivoting or rotating spout that can be easily moved aside to allow for large objects to be moved in and out of the sink.
- Ceramic disc valves make faucets easy to turn on and off with minimal force.
Next let’s look at specifications for how to organize space in an ADA-compliant kitchen design.
Chapter 4. Setting Up the Space: ADA-Compliance for Kitchen Counters, Cabinets, and Workspaces
The ADA guidelines are also very specific about the open space between fixed objects like cabinets and countertops.
4.1 Design Must Leave Space for Mobility Aids
Your ADA kitchen design needs to be laid out with plenty of space for people who use mobility aids to move, turn around, and pull in and out of work spaces.
4.1.2 Pass-Through Kitchens


Image source:https://www.ada-compliance.com/ada-compliance/804-kitchens-and-kitchenettes
To be ADA-compliant, pass-through kitchens need at least 40” of clearance between any fixed objects like countertops or cabinets. That doesn’t include hardware like drawer handles that might stick out a bit.
Residents should be able to enter a pass-through kitchen from both sides.
A person who uses a wheelchair or walker must be able to move all the way through and into a larger open space to have room to turn around.
4.1.3 U-Shaped Kitchens
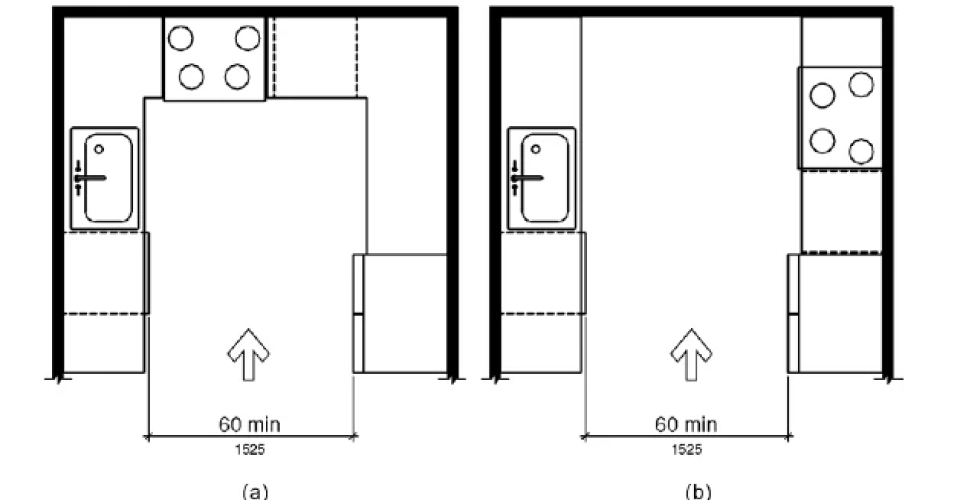

Image source:https://www.ada-compliance.com/ada-compliance/804-kitchens-and-kitchenettes
Because U-shaped kitchens don’t have an outlet at both ends, it needs to be big enough to allow a mobility aid to completely turn around within the space.
ADA regulations call for at least 60” of open space between any cabinets or counters in a U-shaped kitchen.
4.1.4 Work Spaces
Work spaces in a kitchen include your ADA kitchen sink and all appliances.
The guidelines call for at least 48” by 30” of ground space to approach any element. That approach can be forward or parallel to the element (workspace or appliance).
The knee and toe clearance under an ADA sink, countertop, or other appliance can count as part of this clear floor space.
Since your sink already has knee and toe space that’s 30” wide and 17” deep, you’ll just need an area of open space that’s 30” by 31” in front of the sink. And since your kitchen needs to be at least 40” wide between counters, you should be covered by following the other guidelines.
Keep in mind that appliances with doors like ovens and microwaves should leave enough room that a wheelchair user can open them fully without running into a counter on the opposite side.
4.2 Countertop Height and Reach Range
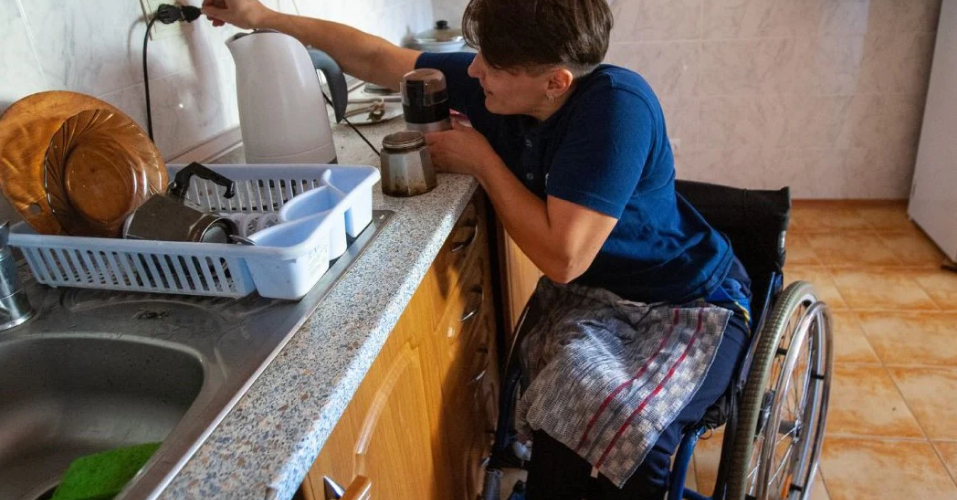
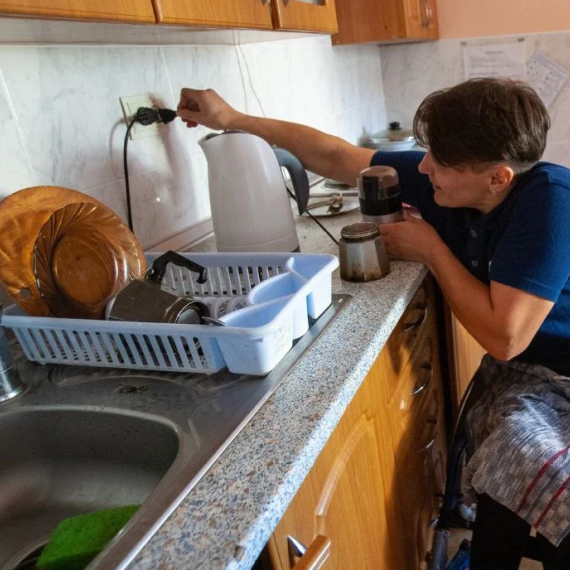
The ADA says sinks, and work surfaces need to be a maximum of 34” from the ground.
This is lower than standard countertops, so not every resident will enjoy this. You can also use an adjustable countertop with a range between 29” to 36” to make the counters universally accessible.
Another option is multiple Countertops at various heights so the kitchen is more useful for everyone in a household with mixed accessibility needs.
Other than the height of your counters, you also need to be aware of something called reach range. The specifics vary from situation to situation, but in general the idea is to keep elements like outlets and switches within reach from a seated position.
If your counters are very deep and a person has to lean too far, they won’t be able to reach elements along the wall.
So it’s good to place them where a person in a wheelchair can pull in with their knees under the counter, or in locations where they have unobstructed access (no cabinets or other objects in the way).
4.3 Cabinet Hardware and Latches
To make cabinet hardware and latches accessible, they need to be easy to grip for people with limited dexterity or hand strength.
D-shaped or loop handles are ideal. You can also opt for touch latches or magnetic hardware.
4.4 Accessible Storage

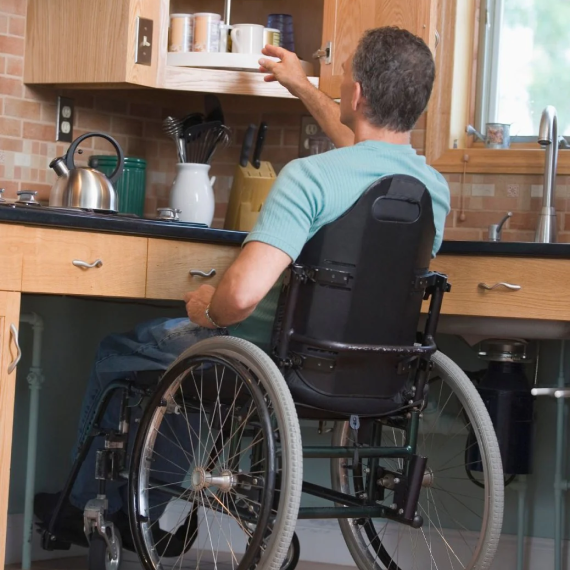
For the kitchen to be accessible, people with disabilities must be able to reach the shelves.
The ADA says at least 50% of the storage and shelving must be reachable from a seated position.
That means they need to be between 15” to 48” above the floor. And there should be clear ground space to approach storage with a mobility aid.
Again, that can feel low for many other residents. And it does let space go to waste.
So the best way is to install plenty of storage at a variety of heights. Features like pull-out shelving and turntables also make them more accessible.
To make sure pull-outs don’t get in the way of wheelchairs, place them where they can be approached from the side, such as next to your ADA sink or work space. Also make sure pull-outs don’t get hung up on walls or other panels.
Other than making kitchens more accessible for wheelchair users, these considerations are huge for helping elderly residents. By making sure they can get everything they need without needing to bend very low or reach too high, you’ll help them retain independence as they age.
4.5 Color Choices for Better Visibility


Most builders tend to favor neutral colors for kitchens. That way residents can dress up their kitchen any way they want.
But if your kitchen counters, cabinets, and flooring are all similar shades, it will be difficult or impossible for blind and visually impaired people to tell them apart.
Giving countertops and cabinets contrasting edges will help visually impaired residents see where things are in their kitchen.
You can also choose a contrasting color for your kitchen sink and other appliances to help them stand out from the surrounding area.
This isn’t just to help disabled and elderly residents. It can also look luxurious and high-end, adding a lot of “pop” to your kitchen designs.
Next, let’s look at how to choose and arrange appliances with accessibility in mind.
Chapter 5. Appliances for ADA Kitchens
The good news about appliances for ADA kitchens is that you won’t need specialized options. In most cases, carefully-selected standard appliances can work great for ADA kitchens.
5.1 Refrigerator and Freezer
The freezer space needs to be accessible from a seated position.
That means at least 50% of the freezer space needs to be within 54” of the ground. So side-by-side or French door designs are the way to go.
Also be sure to include that 48” by 30” clear space centered in front of the fridge, so a wheelchair user can approach it easily.
5.2 Ovens and Microwaves
Ovens and microwaves need to be within reach from a seated position.
That means the floor of the oven should be no higher than 34” from the floor. Microwaves should be no higher than 48” above the floor.
The easiest way to meet this requirement is with low counters. That makes any standard appliance easier to use for people in wheelchairs as well as elderly people who may have trouble bending over or reaching up.
In an ADA kitchen, oven and microwave doors can’t obstruct the clear floor space in front of the appliance. Side-open wall ovens and microwaves are the way to go..
5.3 Cooktop and Range

All controls should be easy to reach from a seated position.
So opt for appliances with controls along the front edge. That way wheelchair users don’t have to reach over a hot stove and people with limited range of motion have to bend and reach less.
Touch controls that don’t need to be pinched or twisted are also the best choice so people with limited dexterity (e.g. arthritis patients) can use them more easily.
Fortunately, these features are easy to find in standard models. They’re also a great choice to keep your design looking modern, since ranges with controls at the back look dated.
That covers the major components of most kitchen designs.
What other considerations can make a kitchen more accessible?
6. Other Considerations
6.1 Lighting
Any kitchen design benefits from great lighting. Dim bulbs and fixtures that cast shadows can make a kitchen look dated. Insufficient lighting also makes it frustrating to prepare food while struggling to see what you’re doing.
Adding under-cabinet lighting (task lighting) or spotlights over workspaces is a great way to brighten up the entire kitchen while making the room more usable for people with limited vision.
6.2 Electrical Outlets and Switches
On that note, the switches and outlets should be within reach for people in wheelchairs too,
And the switches and outlets should have easy to use designs for people with disabilities.
Great options for accessible switches include:
- Specialized adaptive switches.
- Saucer switches.
- Touch-activated, motion sensor, or proximity switches.
- Rocker switches that can be easily pushed.
- While there are no specific ADA guidelines for outlets, you can include them if your budget allows.
Adaptive outlets make it easy to rock plugs into place and only need minimal pressure to seat the plug. These are very helpful for people with arthritis and other dexterity limitations.
6.3 Flooring
ADA requirements call for level, stable flooring, which should be a no-brainer for any kitchen. But the law also specifies that flooring in ADA-compliant kitchens should be non-slip.
Wood-look flooring, luxury vinyl, textured tile, and finished concrete are all great options that can look high-end and stylish while making the floor safer for everyone in the household.
6.4 Pull-Out Work Surfaces and Adjustable Options


In addition to pull-out storage, you could add adjustable and pull-out work surfaces, too.
These will add to your expenses, so they may not be right for every build. But they’re a great way to make the kitchen adaptable for people with different needs.
Now that you know what requirements you’ll need to meet to be ADA compliant, let’s talk about how you can make your accessible kitchen usable for everyone.
Chapter 7. Making Your ADA Kitchen Design Work for Everyone


Some ADA specific elements can make the kitchen less convenient for non disabled users.
Even within the same household, you may have several residents with different needs. And, as we already discussed, those needs may change over time.
Your kitchen design can be ADA compliant and adaptable to many needs. Universal design features include:
- Multi-level countertops.
- Adjustable-height sinks and work surfaces.
- Switches that are easy to use.
- Easy-glide drawers and open storage.
- Pull-out and rotating storage.
- Loop or D-shaped cabinet hardware.
- High-contrast color palette.
- Great lighting design.
- Updated appliances with touch controls at the front face.
- Fridges and freezers with a side-by-side layout.
You can also add modular storage under an ADA kitchen sink or workspace so that it can suit a standard design but become ADA-compliant as needed.
Modular cabinets must be able to be removed without removing or replacing the work surface. The floor under the cabinetry and wall behind it need to be finished, just like if the cabinets weren’t there.
As already mentioned, you can also install ADA kitchen sinks and work surfaces that are adjustable to a range of heights. That makes your compliant units adaptable to any residents, whether they need an accessible kitchen or not.
8. Frequently Asked Questions
Q: How can I make sure my kitchen design is ADA compliant?
A: Unfortunately, in many cases, you won’t know that your design is not ADA-compliant until you’re dealing with a complaint. Although it’s not required by law, you can hire a Certified Access Specialist or other ADA compliance expert to ensure that your design is fully compliant and prevent potential problems down the road. Purchasing fixtures and appliances that are specifically designed to be ADA compliant is a great way to avoid problems.
Q: What does an ADA kitchen sink look like?
A: ADA kitchen sinks need to be usable while seated. That means they’re lower to the ground and have clearance for knees and toes. The under sink area needs to be clear of drain pipes, supply lines, and other obstacles. The faucet should have a single, lever-style handle for easy use. You can get full details in Chapter 3.
Q: What is the difference between ADA compliance and universal design?
ADA compliance means that your design fulfills all the specifications and requirements laid out by the Americans with Disabilities Act.
Universal design means a kitchen or other space can be used by as many people as possible with different accessibility needs.
There is a lot of overlap between the two, but universal design is a broader approach and ADA compliance is a legal framework. Mastering ADA kitchen design will enable you to incorporate some adaptability into all of your designs, which can boost your profitability and make your homes as comfortable as possible for everyone in the household.
Q: Is it possible to add accessibility features without compromising the look of a kitchen?
A: Yes! There are more options than ever for accessible features that don’t detract from your design. For example, we can offer the same beautiful kitchen sinks in standard and ADA compliant models so your entire build offers the same welcoming homes to all future residents.
We’ve laid out the basics for how to build your ADA-compliant kitchen sink, provide enough space for residents who use mobility aids, and generally make your kitchen designs safer.
Now let’s bring it all together.
Chapter 9. Pulling It All Together
Mastering universal design helps everyone feel more comfortable in their home. It’s an essential part of helping people with disabilities maintain their independence. It’s also great for business.
Here’s a brief summary of our recommendations for mastering ADA kitchen design:
- Remember that there are lots of different kinds of disabilities. They may be permanent or temporary, or develop as we age.
- Incorporating accessible features into standard homes can increase the appeal and value of your projects.
- Adhering to ADA guidelines for kitchens can help you avoid legal trouble and complaints down the road.
- Having your designs checked by an ADA specialist is a great way to be sure your design is fully compliant.
How We Can Help You Create Beautiful ADA Kitchen Sinks


As you already saw, kitchen sinks for ADA home have the most specific requirements out of any fixture in a kitchen.
But ADA compliant kitchen sinks can be difficult to find. Especially if you’re working on a multi-unit project, the right supplier can save you time and money.
We’re proud to offer ADA kitchen sinks and faucets alongside standard models so you can get everything you need in one place.
Plus we offer:
- Discounts for commercial projects.
- Guaranteed stock.
- Lifetime quality guarantee.
- Guaranteed pricing.
- 30 day money-back guarantee.
- Free shipping to most areas in the US.
- Delivery within 5 days or less anywhere in the US.
- Unlimited phone and email support.
If you want help creating a beautiful ADA kitchen sink, contact us! We’ll connect you with dedicated support so you can find the perfect options for your next project.










1 comment
sheree Loftus, PhD
looking for simple design for retirement home
looking for simple design for retirement home